Posted on

What to do with the excess dropper on my picture hanging system?

What to do with the excess wire on my picture hanging system?

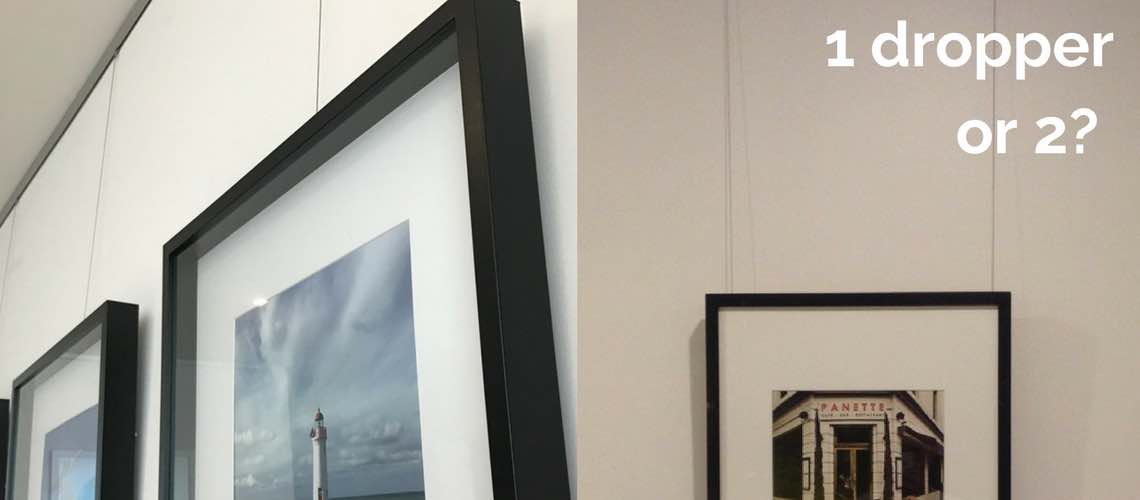
Our standard length dropper is 2 metres long.  We find that this covers 99% of our clients needs and is suitable for track mounted up to about 3.5 metres high depending on the gallery requirements.

This being said often our clients will not use the entire length of the dropper and may wonder what to do with the left over material.

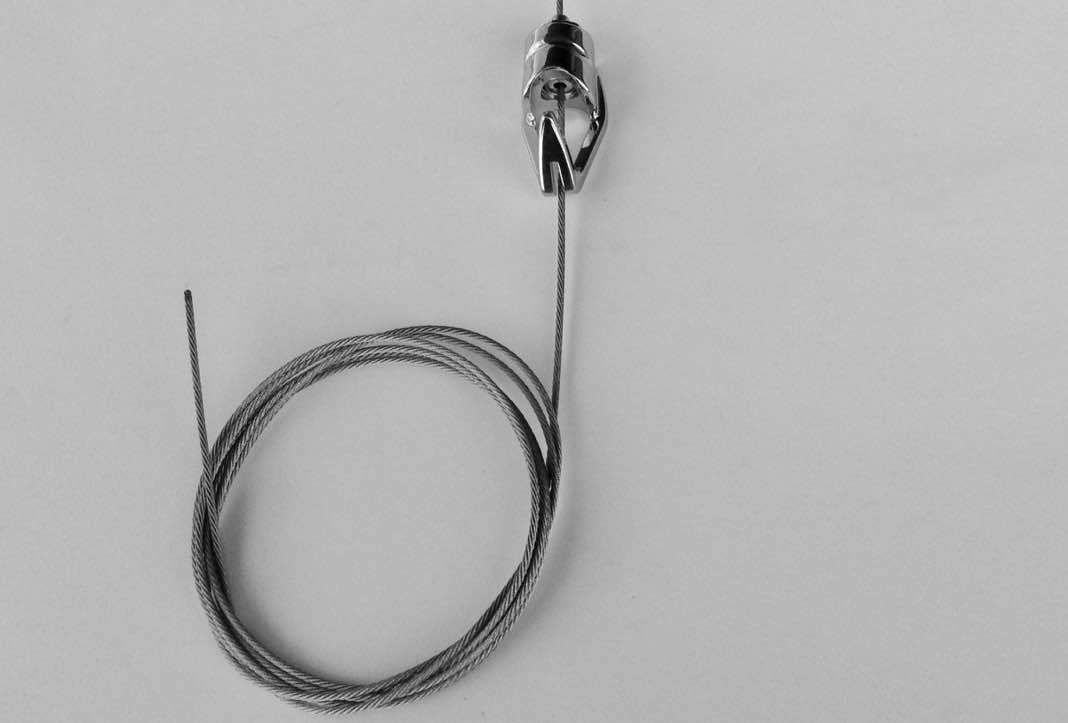
Firstly, if you are using the stainless steel droppers, what ever you do, DO NOT cut the wire.  The stainless steel wire is actually a braid of smaller wires which have been thermally bound at the bottom to prevent unravelling.  By cutting the wire you allow the braid to loosen, unravel and eventually cause the early demise of the dropper.  Furthermore, cutting the dropper also determines the droppers maximum length in further circumstances.

Instead, we recommend rolling the wire up, folding the end through several times and placing it behind the lowest piece on the dropper; out of the way, safe and sound and ready to be used at longer lengths next time!

When the clear tape droppers are used however, the approach may be slighting different.  If the lowest piece suspended on the dropper allows, I would still recommend rolling the tape up and securing it with a zip tie or some sticky tape.  This will most likely be possible where the piece has a cavity at the back.  If not possible, then it is best to cut the clear tape with a sturdy pair of scissors.  When cutting the clear tape, I recommend keeping it as long as possible without having it visible at the bottom of the piece.  This way the clear tape still has the greatest adjustment potential when redeployed.

Cheers for now,


Ed – Shakespeare Solutions.

PS. find out more about our picture hanging systems here!

Posted on

Should I use 1 dropper (wire) or 2 on my picture hanging system?

1 dropper or 2 image.

One of the questions regularly asked by potential clients is ‘should I be using 1 dropper or 2 to hang my artwork?

The honest answer to this question is, ‘it depends…

Firstly, it is most important to considered the weight specifications of the droppers to be used and the piece to be suspended.  Naturally, if you are starting to approach the weight rating specified for the dropper then it is a good idea to use two.  This should bring you well inside the specified weight rating and provide a large load margin.

The second consideration is the style of piece.  Most balanced portrait pieces will very happily sit on a single dropper without becoming askew.  Landscape pieces on the other hand are far more likely to fall out of a level position and often using a second dropper is the best solutions.  This is certainly the case in a space which may be exposed to a light breeze.

On that note, thirdly, consider the atmospheric conditions.  If your gallery space may be exposed to a breeze, perhaps from a regularly opened door, then it may be worth while using a second dropper per piece to ensure everything remains level and in place – there is nothing more frustrating than having to position all the pieces every time someone enters or leaves the gallery!

Finally, aesthetic considerations.  This is a personal choice, in my home, I prefer the minimal look of a single dropper on most of my pieces, however others may prefer the sturdy look of two.

Either way, it is worth considering the above to ensure that your picture hanging system not only performs inline with your expectations but also because different providers will have a different approach which can significantly effect the cost of your system.

Have a question or require further information, please contact us to discuss your needs.

Cheers,

Ed – Shakespeare Solutions.


Short Notes on 1 dropper or 2

  1. Is my piece inside the weight rating of my dropper? No – used two, Yes – one it is!
  2. Will my piece stay balanced? – portrait usually, landscape less easily (but worth trying first).
  3. Is there regularly a breeze in this space which could move the artwork?  No – use one, Yes – perhaps use 2
  4. Assuming one can be safely and practically used… do I prefer this look?
Posted on

How to Hang Pieces Flat on a Picture Hanging System

picture leaning forward on picture hanging system

In comparison to a traditional picture hook, picture hanging systems do not offer the same ‘pull’ into the wall and this can sometimes cause pieces to lean further forward than desired. This will effect pieces of different formats, sizes and weight differently. Here is a guide on how to deal tackle this issue.

Firstly, is this actually a problem for you? Put your pieces up and decide whether it is actually a concern. In some circumstances the lean can be quite acceptable and add to the viewing angle of the piece.

However, in other circumstances the effect can be quite pronounce and undesired; I found this to be especially the case in small hall ways were piece on either side cause quite a narrowing effect!

The solution is to lock the top of the piece to the dropper with our HangRight Clips and push the bottom of the piece out from the wall slightly by installing our felt wall protectors. This solution ensures the piece sits as flat on the wall as possible whether using 1 or two droppers to hang.  It is also very useful technique when trying to hang multiple pieces in a column but this is a topic for another post!

Any questions, please let me know.

Cheers for now,


Ed – Shakespeare Solutions