‘The Gallery Lighting System’ is an excellent addition to ‘The Gallery System’, it provides a dynamic and cost effective solution to lighting your artwork
Over the years however we have had one reoccurring issue that sometimes causes the system not to work correctly or at all!
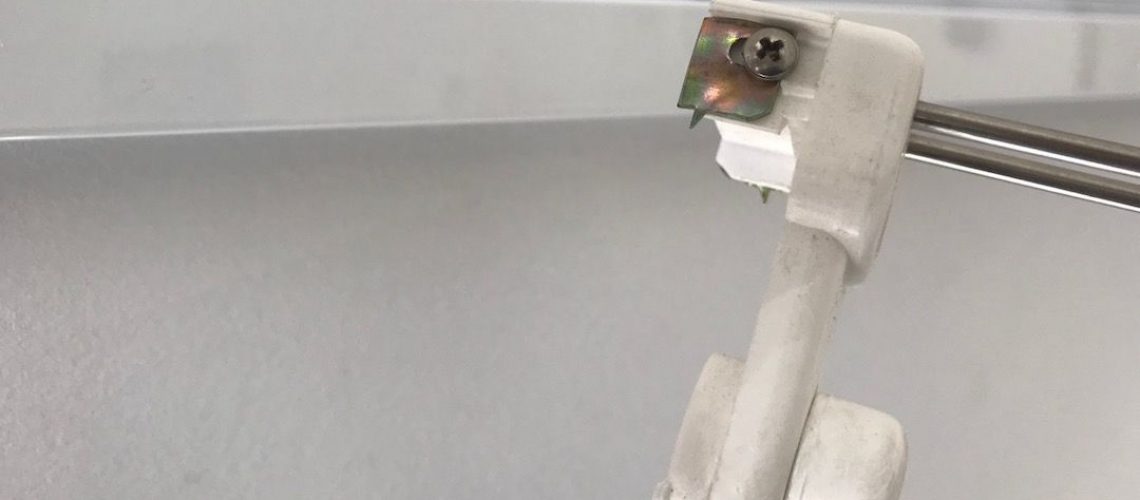
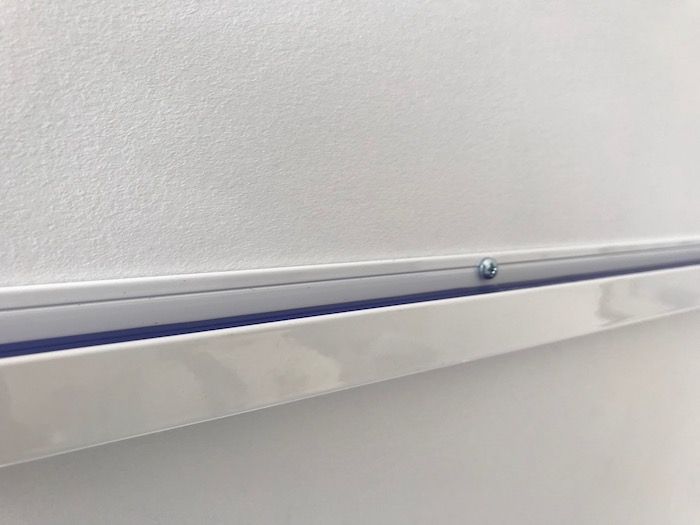
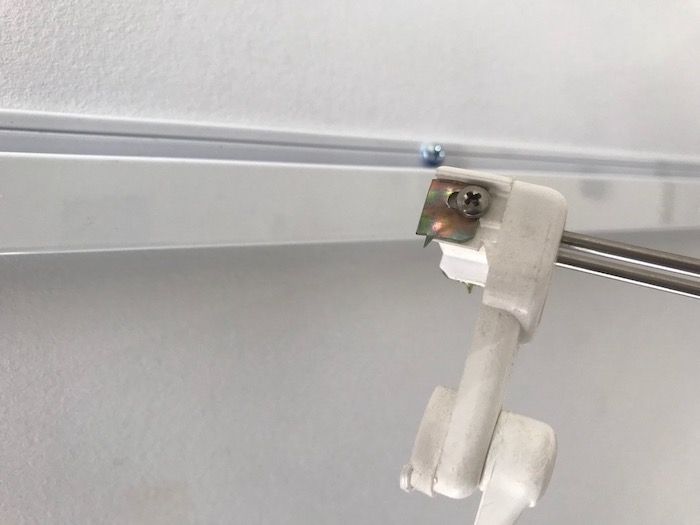
If we look at the ‘Lighting Wand’ we can see that it has two prongs designed to bite into the low voltage ‘blue cable’ and provide current to the globe. It is very important that these prongs make a good connection to provide the appropriate current to the globe. Interestingly, in days gone by when we used incandescent globes, the globes would light up even if a proper connection was not made. However, modern LED globes are far more digital and if they don’t receive a minimum current will not light up at all.
So, how do we ensure the Lighting Wand prongs are making appropriate contact with the blue cable?
This is simply a case of installing the wands using the following method:
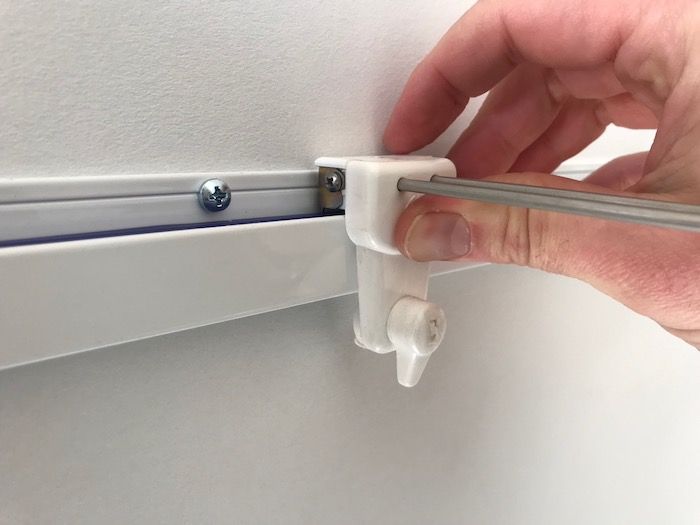
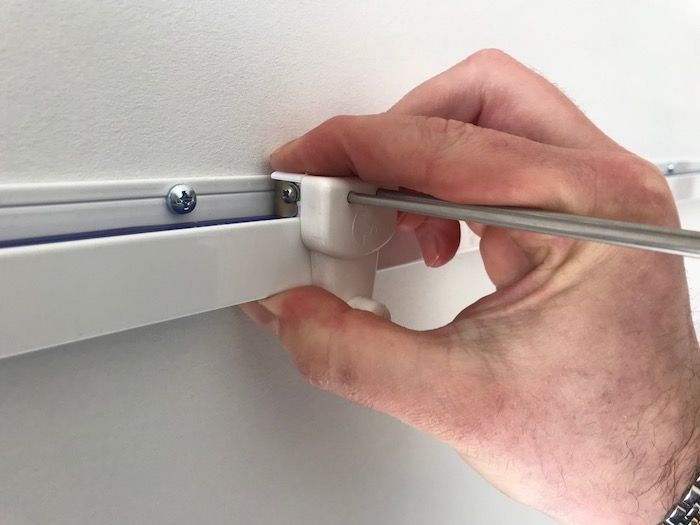
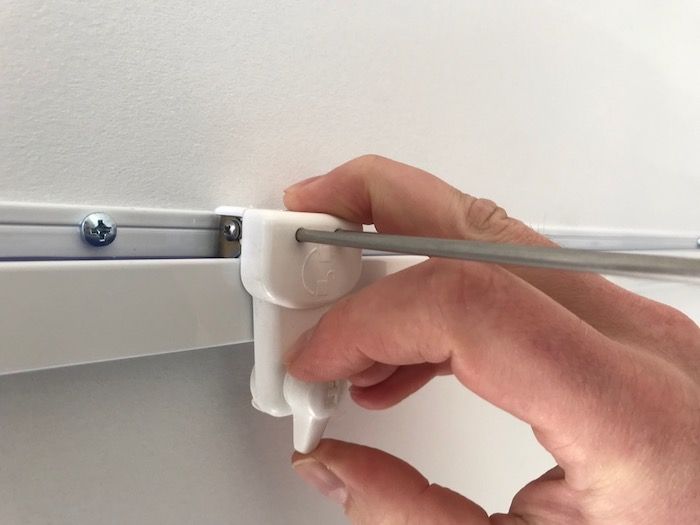
1. Turn the ‘key’ on the lighting wand to open the lock and allow the wand to mate with the track.
2. Place the wand on the track with the flat edge of the lighting wand firmly (and flatly) against the track.
3. Using your hands, squeeze the lighting wand down onto the track and in turn seating the prongs into the blue cable.
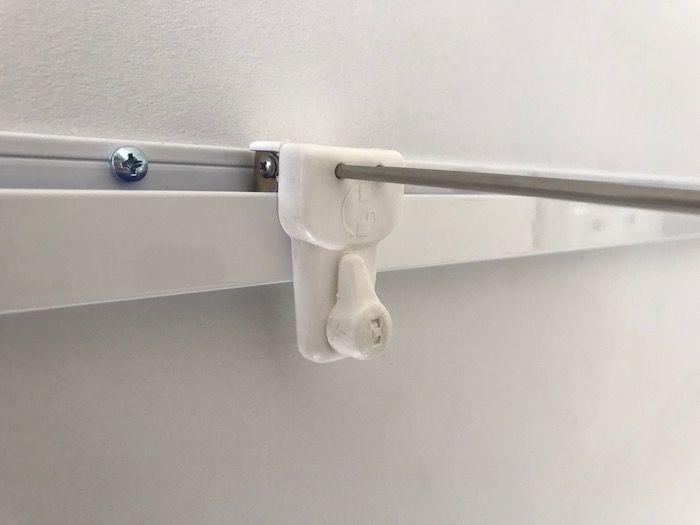
4. Now lock the lighting wand in place with the key.
The secret here is to ensure that the lighting wand is squeezed into place with one’s hands before locking it in place with the key. Using the key to lock the wand in place without squeezing it down will lead to a poor connection at best and most likely no connect at all; subsequently the system not functioning correctly.
Once you have done this once or twice it becomes second nature and is a quick and easy way of ensuring ‘The Gallery Lighting System’ is properly setup and will function correctly.
That’s all for this week, if you have any picture hanging system questions, please do let me know. As always, I’d be delighted to help.
Cheers,
Ed Banks

